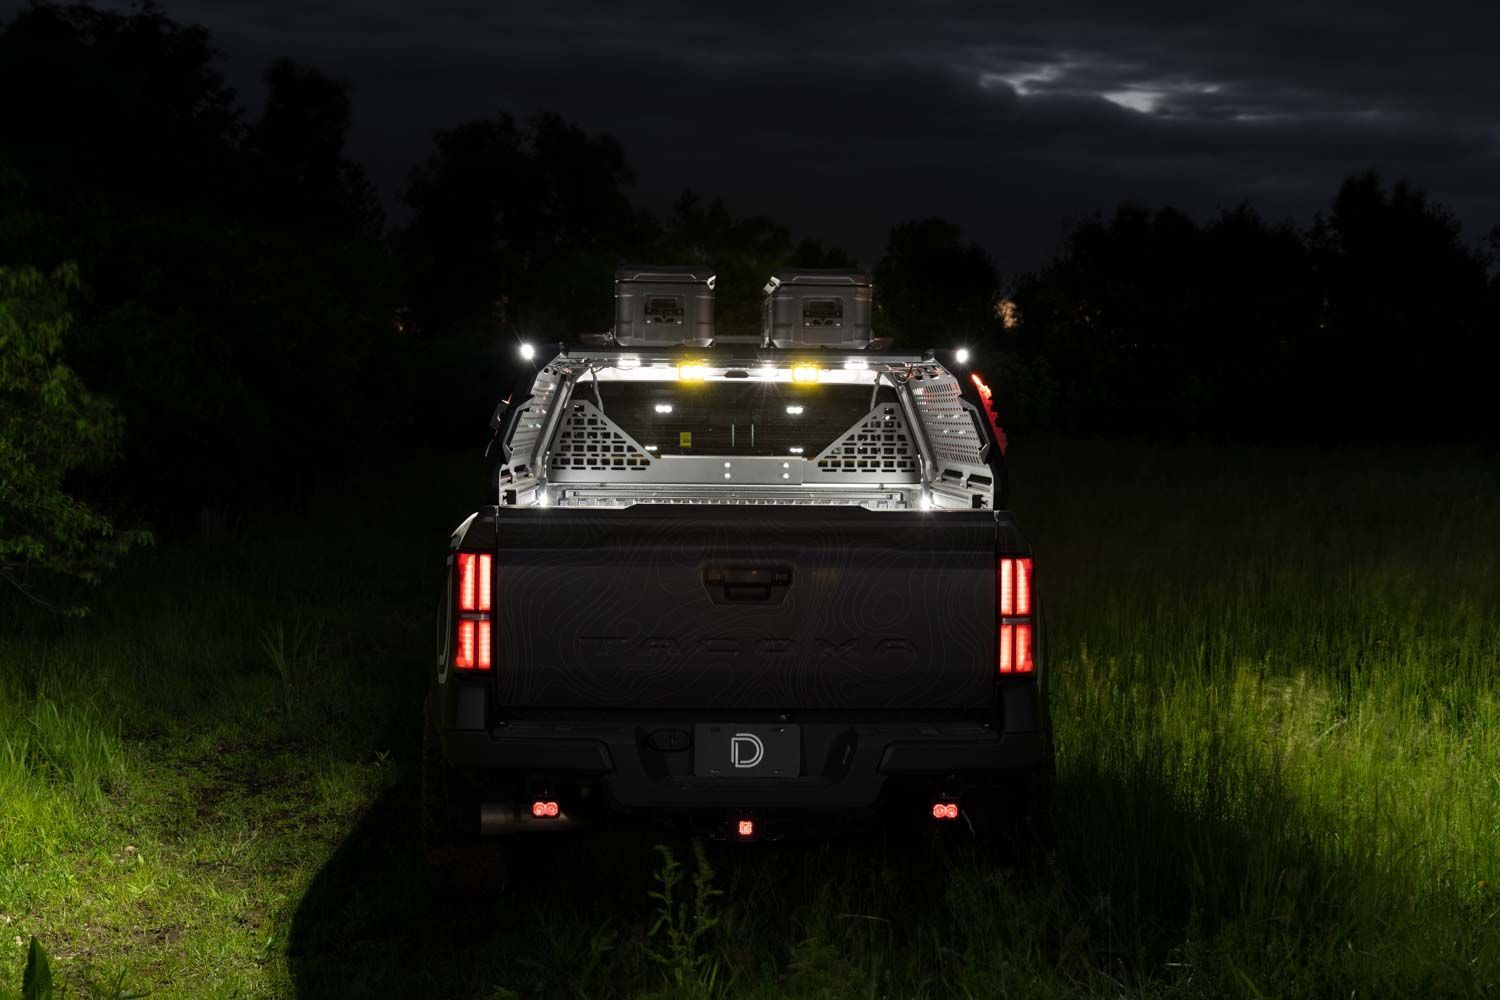
The Stage Series LED Chase Light Kit provides powerful rear-facing lighting for your KUAT IBEX bed rack. Whether you're hitting dusty trails or staging at night, this kit improves visibility and safety with clean bolt-on installation. Watch our installation video or continue reading below for detailed instructions!
Table of Contents
Installation Video
Installation Tools
- 2.5mm Allen key
- 3mm Allen key
- 13mm wrench
- Phillips head screwdriver
- Scissors (for cutting wire retaining strip)
Installation Instructions
Step 1 – Mount the Brackets
Insert the T-nuts into the T-slot on the underside of your KUAT IBEX rack and align with the slot openings. Use the large bolt and washer to mount the C2 bracket loosely with the lip facing the rear. Leave hand-tight to allow positioning adjustments later.
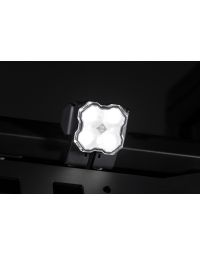
Step 2 – Prep the Pods
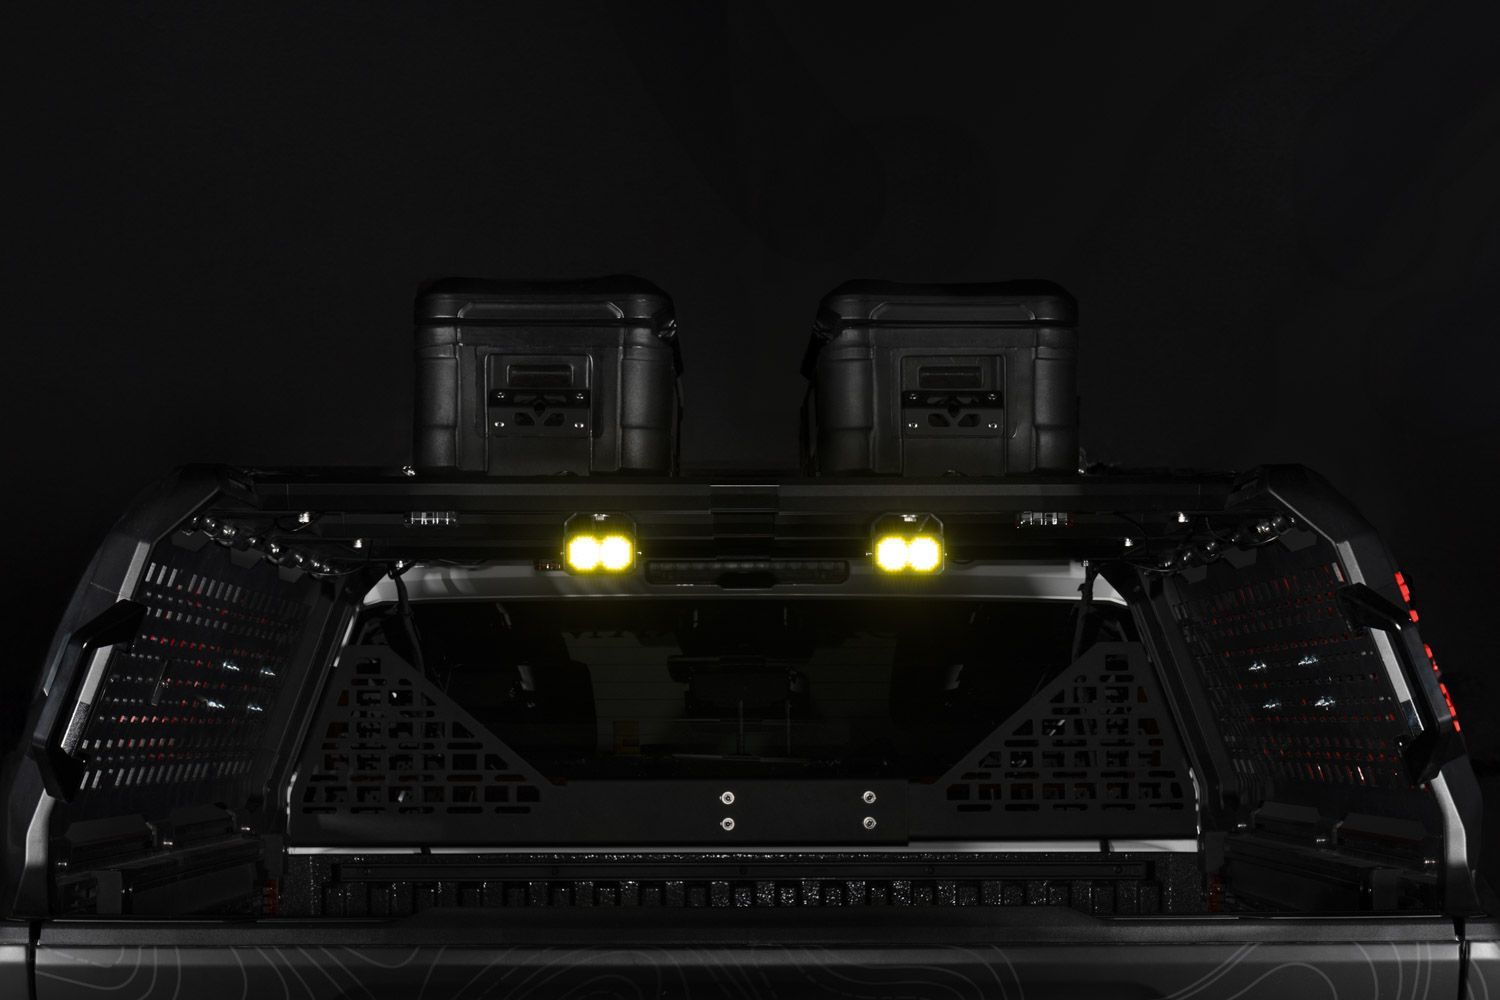
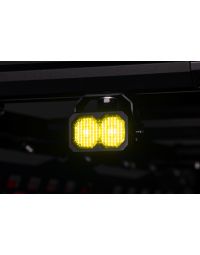
Hold the C2 LED Pod up to determine your desired mounting height. For this install, we used the center mounting holes. Install the four set screws into the unused mounting holes using a 2.5mm Allen key. If these are already in place, you may leave them or relocate as needed.
Step 3 – Attach the Pods
Use the included C2 mounting screw and lock washer to attach the pod to the bracket. Leave hand-tight for now. Repeat this process for the opposite side.
Step 4 – Connect to Power
Open the hood and disconnect the negative battery terminal. Connect the ground wire from the harness to the terminal and reconnect. Repeat for the positive terminal.
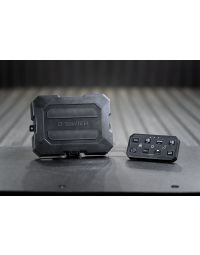
If using included switch:
Route the switch through the firewall and into the cabin, avoiding hot or moving parts.
If using the optional D-Switch hub:
- Disconnect the switch at the white connector on the harness.
- Install the included auxiliary tap wires.
- Cut and strip the blue and yellow wires using a wiring tool.
- Remove the D-Switch hub cover.
- Route the wires through the opening.
- Connect the yellow wire to the terminal for the main beam and tighten.
- Connect the blue wire to the backlight terminal (bus bar) and tighten.
- Reinstall the hub cover.
Step 5 – Run Wiring
Route the DT plug from the harness toward the rear of the vehicle. On the F-150 demo vehicle, we ran the wire through the fender, along the running boards, and up the back of the cab. Connect the shorter extension to the light closest to the harness and the longer DT plug to the other pod.
Step 6 – Adjust and Aim
Position both pods on the rear crossbar and tighten the main mounting bolt using a 13mm wrench. Adjust vertical aiming as needed and secure the C2 pods using a 3mm Allen key.
Step 7 – Secure Wiring
Cut the included wire retaining strip into 1-inch sections and route the wires neatly through the rack’s channels, adding retainers as needed. Use zip ties to secure any loose wiring, avoiding hot or moving parts.
Questions About the Installation?
If you have any questions or need support with your Chase Light Kit install, contact our team for assistance.
Where Can I Buy This Kit?
Grab your Stage Series Chase Light Kit today or use our dealer locator tool to find a local shop near you.
You can also explore our other IBEX-compatible lighting kits to build out your full setup.
This Installation Guide is for the following SKU: DD8442
Share This Post