The Stage Series LED Bed Light Kit for KUAT IBEX offers clean, bolt-on lighting for your truck bed, with no guesswork or modifications required. Whether you're working out of the bed or loading gear in the dark, this kit adds serious functionality to your setup. Watch our installation video or continue reading below for detailed instructions!
Table of Contents
Installation Video
Installation Tools
- 4mm Allen key
- Pliers
- Trim removal tool
- Scissors (for cutting wire retaining strips)
Installation Instructions
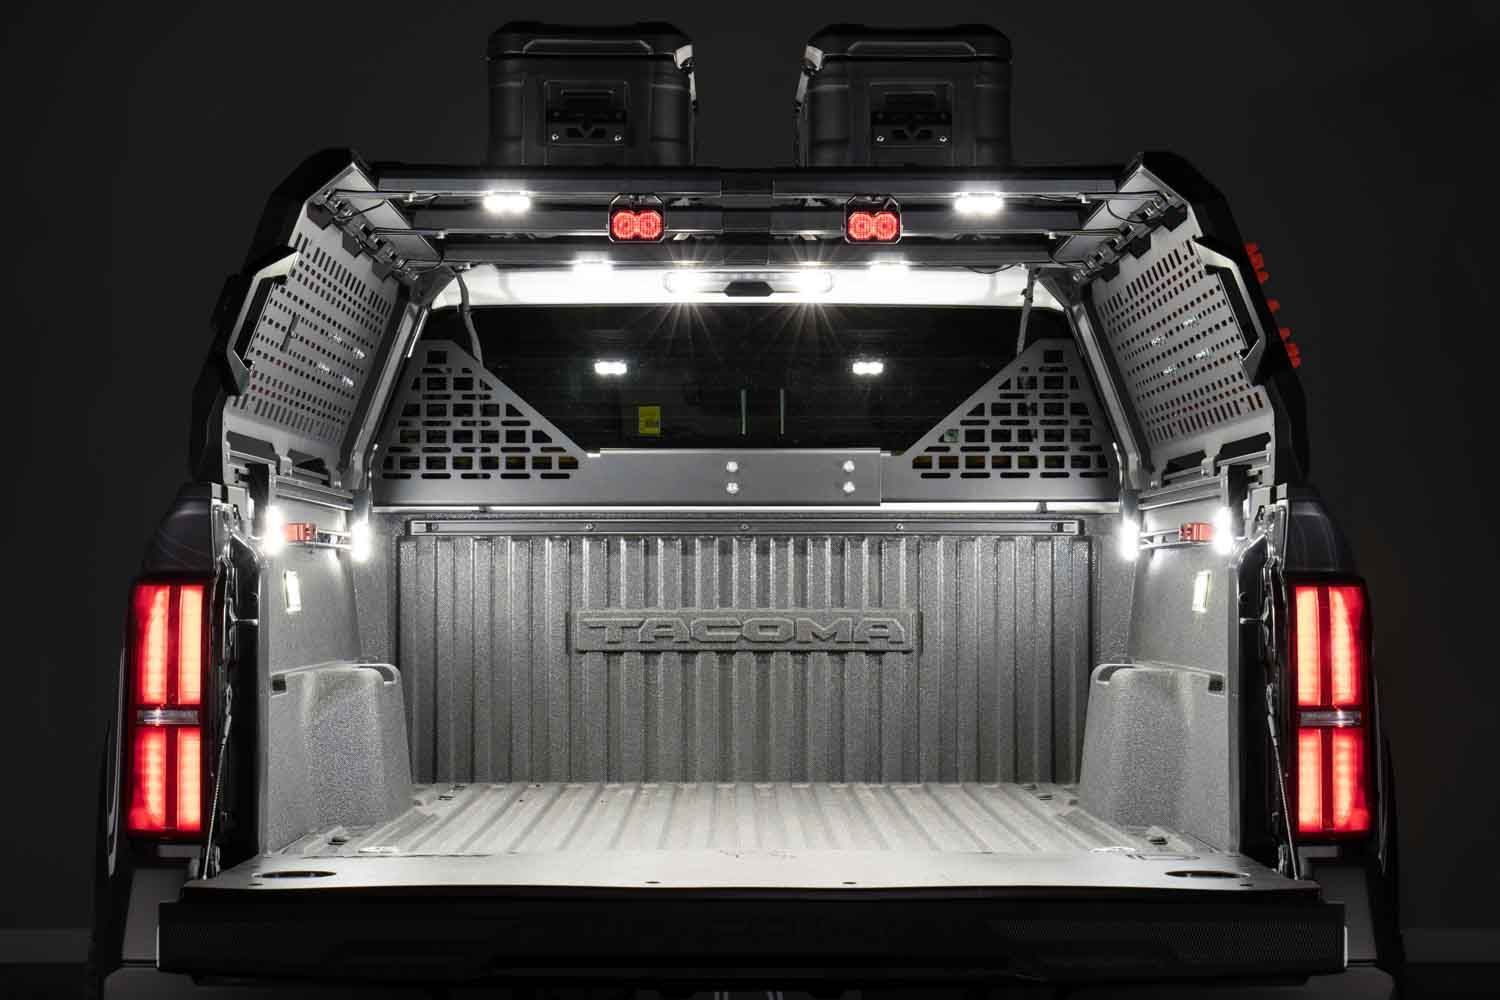
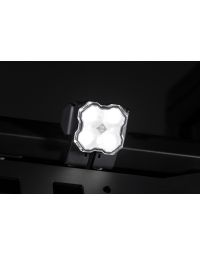
Step 1 – Mount the Rock Lights
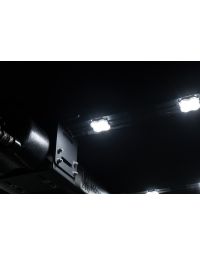
Insert the provided T-nuts into the T-slot under the KUAT IBEX rack. Then remove the lens and center grommet from each rock light. Mount the light using the bolt and small washer from the hardware kit, and tighten with a 4mm Allen key. Reinstall the black grommet.
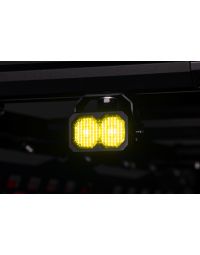
Step 2 – Install Lenses
Choose between the included clear or amber lenses. For this install, we used the clear option. You can always swap the lens later by removing and replacing it with your preferred color. Repeat Steps 1 and 2 for all four rock lights.
Step 3 – Power Source Note
Important: If your truck does not have OEM bed lighting, you will need an alternate power source. We recommend our optional Single-Color Rock Light Harness with an extra 5m extension.
Step 4 – Tap Into OEM Bed Light Wiring
Use a trim removal tool to release the retaining tab on your OEM bed light. Apply dielectric grease to the included T-Taps to protect against corrosion. Attach the T-Taps to the OEM positive and negative wires. Use pliers to crimp them in place.
Step 5 – Connect the Harness
Connect the black wire from the T-Tap harness to the negative T-Tap. You may connect either the red wire (high power) or yellow wire (low power) to the positive T-Tap. In this install, we used the yellow wire for low power.
Step 6 – Splitter and Extension Wiring
Plug the splitter harness into the MA connector on the T-Tap harness. Connect the four extension wires to the splitter, then route them through the bed and up the rack.
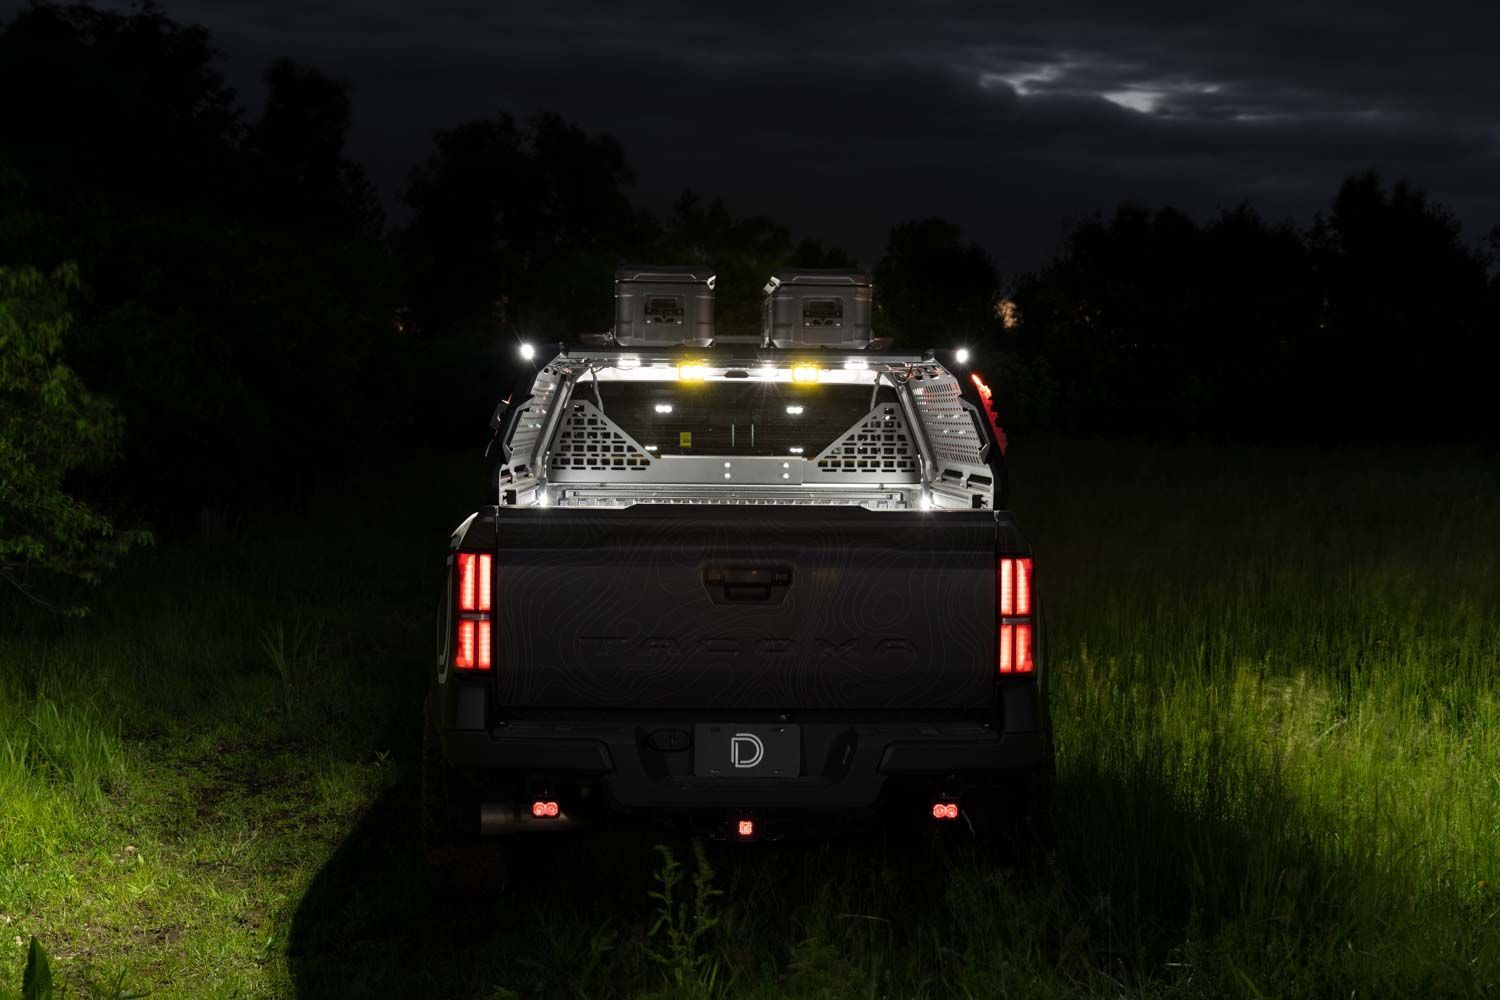
Step 7 – Route Wires and Connect Lights
Run two extensions along each side of the rack using the integrated channels. Connect each extension to a rock light as you go. Any open channel can be used depending on your rack setup.
Step 8 – Final Checks
Test all lights for functionality. Reinstall the OEM bed light after confirming all connections are secure.
Step 9 – Secure Wiring
Use scissors to cut the provided wire retaining strip into 1-inch sections. Use the strips and included zip ties to secure all wiring, keeping it clear of hot or moving parts.
Questions About the Installation?
If you have any questions or run into issues installing your Stage Series Bed Light Kit, please contact us directly for assistance.
Where Can I Buy This Kit?
Ready to light up your bed rack? Click here to order the Stage Series Bed Light Kit or use our dealer locator to find a local retailer near you.
Check out more offroad lighting kits from Diode Dynamics to build out your complete setup.
This Installation Guide is for the following SKU: DD8440
Share This Post